January 2014
Okay, where were we on the kitchen. Oh, yeah, base cabinets are in. Giant oven cabinet and wall oven installed. Seems like we are still missing a few things. I know, countertops, and that's where it gets interesting. Yep, we're going to be making some zinc countertops. I liked the look and even better the price.
First some supplies. 3/4" hardwood plywood. Yes, hardwood, not the super cheap plywood because we actually want a countertop that is flat. Two of these glued together should give us a nice 1 1/2" countertop.
These seem a bit large.
We cut them down to leave us a 1" overhang on the cabinets and a 12"
overhang on the side of the peninsula for serving drinks,
I mean seating.
Looking better already. We stagger the seams for a more sturdy structure and to prevent problems with joints expanding.
Next up on the supply list, Liquid Nails and some other construction adhesive we had on hand.
Apply this stuff everywhere, the board, your hands, on your tools. It's really not bad, just spread it around everywhere, I used a paint stick for this.
Then we drilled some screws immediately after putting the top piece on to compress the sheets together.

After the adhesive dried, we waited 24 hours, we took out the screws and I filled the holes with wood putty.
I also filled any joints and gave the whole top a rough sanding.
And the small section to the right of the sink cabinet. The empty spot is for the dishwasher.
Now the large section, my parents are in town, so we take the opportunity to have my mom, dad, sister, Brian, and I left the countertop off the cabinets and put in on saw horses in the living area. This way we can access all sides and we don't damage the cabinets with all the hammering and grinding. The countertop isn't that heavy, just very large. How large you ask?
12'8" x 11'11"
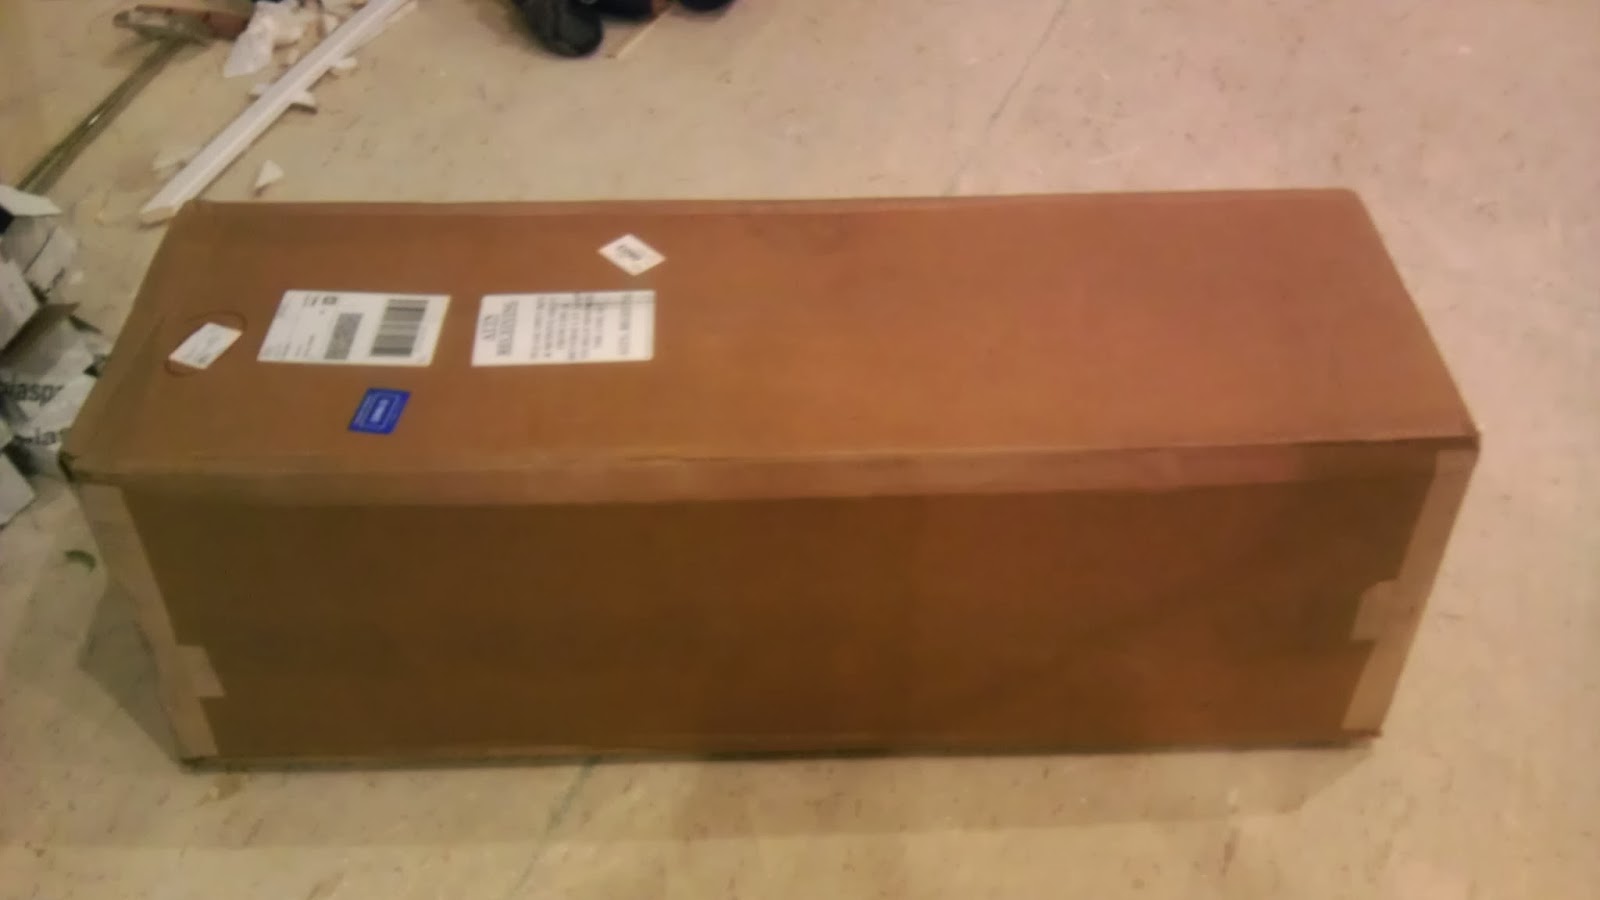
The countertops arrive. Yep, there's coutertops in this box, must be some assembly required. We ordered our zinc sheets from Rotometals.
I also purchased some solder, Cupric Sulfate, and some sealant from them.
Here's the zinc sheets, we used .20 gauge. They will come rolled up and the first thing we did is unroll them the opposite direction and lay them flat. Do this as soon as you get them as the longer they stay rolled up the harder it will be to get them flat.
They roll out really easy. We weighed the sheets down with Ikea drawers.
After a couple days of laying flat the sheets are ready to be cut. We start with the baby countertop section.
We cut the first countertop with some hand shears, then we upgrade to an electric metal cutter later. Remember kids to wear gloves while handling the sheets, these suckers can be sharp. Those are metal working gloves, you will need some, because finishing
this project with bandages over your stitches would be rather
cumbersome. And for you ladies out there, you maybe out of luck and
have to get a men's size small, I looked everywhere and didn't find any
women's metal working gloves. (yeah and don't run with the shears either)
We use clamps with some wood, so the surface doesn't get dented, to hold the sheets in place. Then we bend the crap out of the one long side. This is a process of me grabbing the opposite end of the countertop and pushing on the bend with my legs until a bend starts. And then beat the crap out of it with a rubber mallet until we have a nice bend.
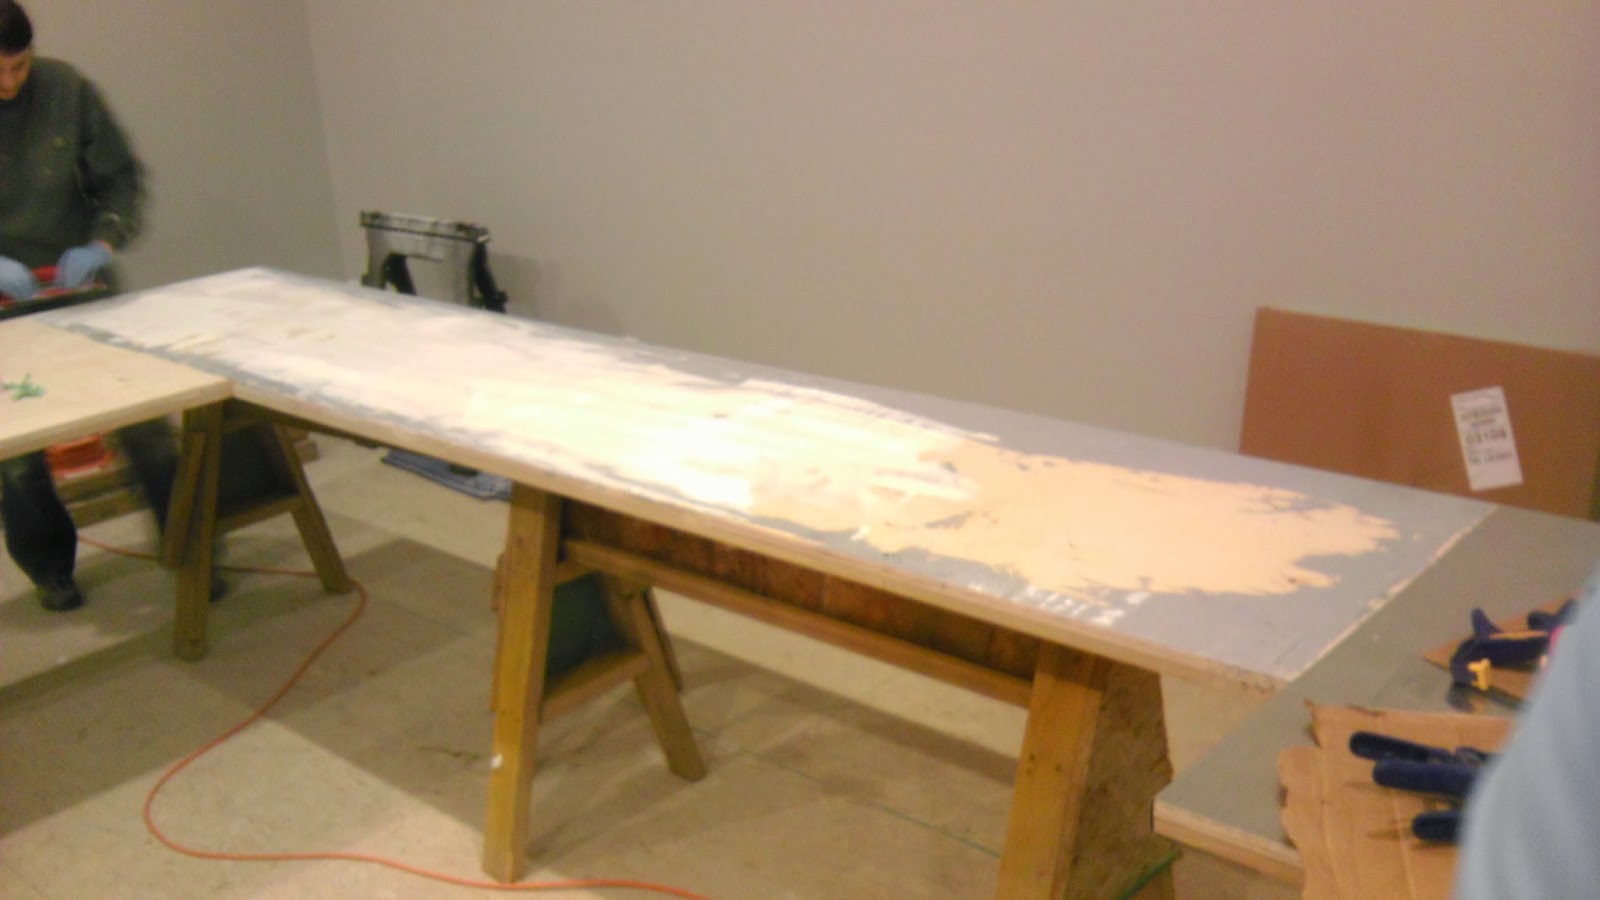
After we get a nice bend in the sheet, we loosen the bend enough to get the sheet off the plywood and now we are going to glue the metal sheet to the wood. Coat the plywood with Sikaflex construction adhesive. This stuff is kind of expensive, about $7 a tube. We tried one countertop with a mix of this and another adhesive. I would highly recommend using Sikaflex for this step. This stuff dries to a rubber cement kind of texture, it's rubbery and stretchy. Other adhesives will dry hard. Hard adhesives will crack and don't allow any movement of the countertop which will happen with changes in tempatures (think hot pans) etc.
The gray stuff in the pic is the Sikaflex. Brian is applying it and I am spreading it evenly with a 1/8" notched plastic trowel. You can find one of these in the flooring department for putting down adhesive for vinyl floors. This stuff is thick and it takes some muscle work to get this spread around. So prepare yourself for a workout.
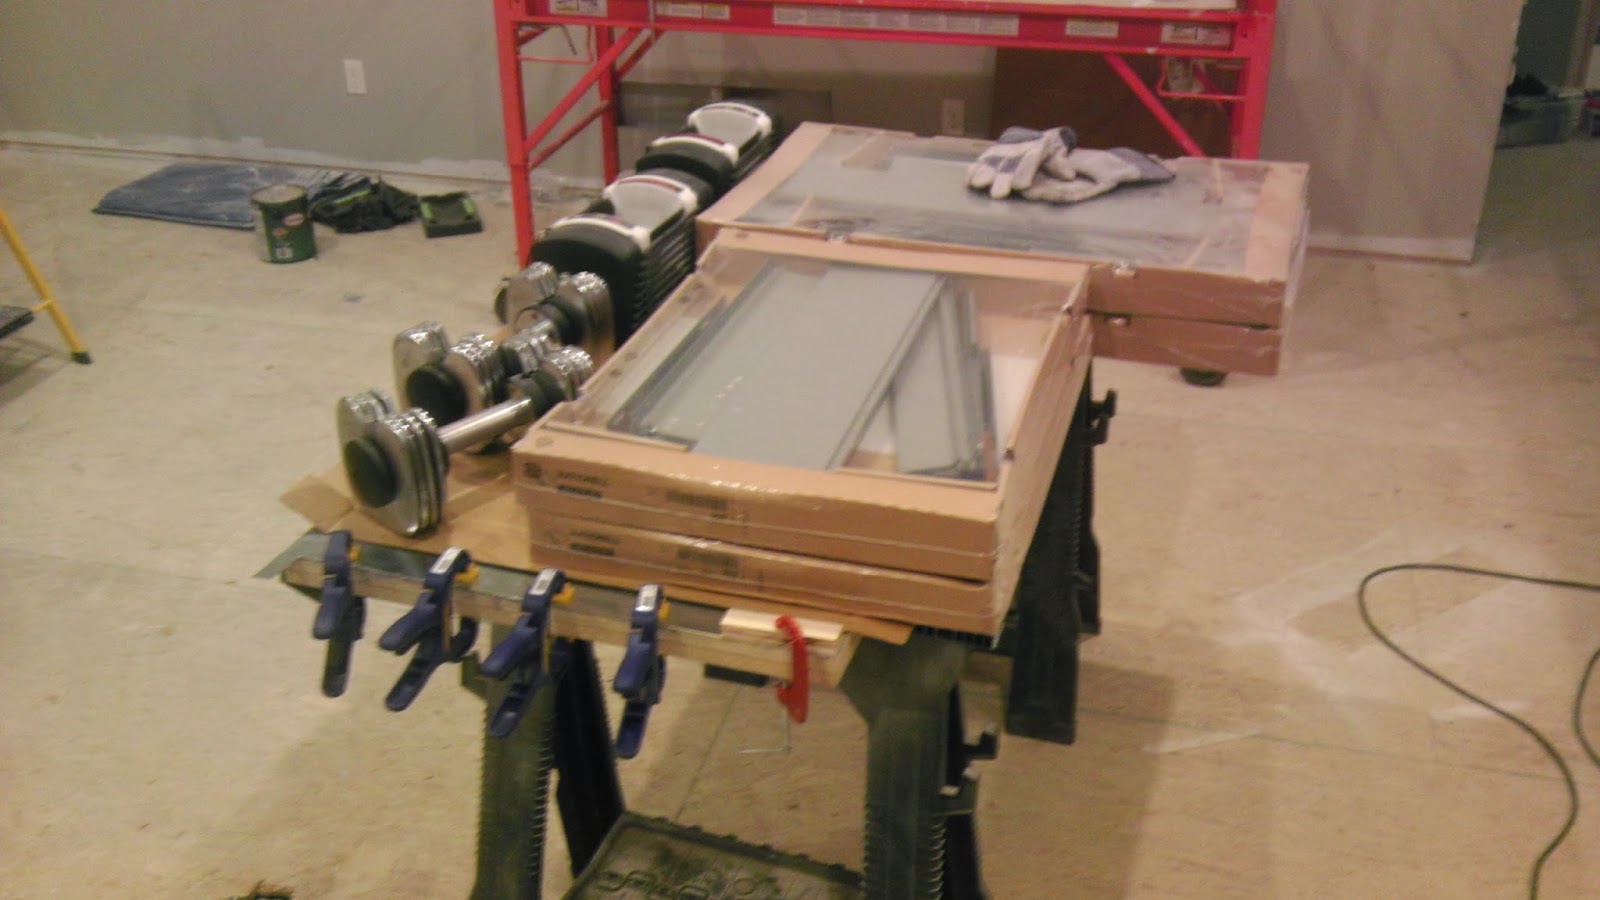
Once the adhesive was evenly spread, we placed the zinc sheet on and then weighed the whole thing down and clamped all the edges. What else do you use a bunch of exercise weights for? Well and a few more Ikea drawers.
After this has dried for 24 hours, we removed the weights and then finished the bending.
This is the underside of the small countertop. We bent over the edge and then used sheet metal screws to secure the bend.
Back to work on the large section.
And some measuring. We first put the sheet on the small L section as we need to bend in the inside corner.

Small section glued down and drying.

Bending the inside corner. We left the weights on top to help hold down the sheet while bending.

Another view of the inside corner bend. These small sections were very easy to bend, the large ones, a little more work.

And we repeat, by proceeding to the next section.

We lined up the back edge with the edge of the substructure, this is the edge of the final countertop that will be against the wall, and clamp it down. Brian then measures it and marks his cuts with a Sharpie.

Measure four times, cut once.

Here's the cut sheet.

Glued down with Sikaflex and then weighed down. Our shipment of wood flooring had just arrive and made for great evenly distributed weights.

After it dried we stacked even more boxes on it to hold it down while bending.
Brian found a good use for our kitchen bench as he pounds away with a rubber mallet to bend the long edge. I really thought the final countertop was going to look really dented, but it was hardly noticeable. The aging process highlighted a few of the dents but it brought out more of the countertop's character.
Final bent edge.
We have a large kitchen and a lot of surface that needed countertops. So how much did this project run us? Well, I
had a local store price us some granite, $10,000.... I think not. I
know I could find cheaper granite but it would still cost $4-5,000 for a
kitchen this size. Total for the zinc countertops, around $1,200 for the zinc sheets, solder, sealant, plywood, and some miscellaneous items, sandpaper, steelwool, tools, etc. Not bad. I will put a second post detailing the aging process with acid and sealing.


