Wednesday, April 23, 2014

Making Industrial Mixer Whisk Pendant Lights

Industrial Whisk Lighting Project

April 2014


I picked up these industrial whisks on Ebay some time ago and we finally get around to turning them into hanging lights for the kitchen.  They are 10-13 quart sized whisks from Hobart mixers.  I have been waiting for this project for months.


Here's how large the whisks are compared to my hand.  Best part of this project is that no whisks were harmed in anyway, so just in case you ever get an industrial mixer and need to whip up, I don't know, say 13 quarts worth of egg whites, you can just take apart your light fixture. 


You will also need some 1/6" twisted metal cable.   We picked this up at Ace Hardware.  They sell it by the foot.


Some 1/6" Ferrules and Stops and a washer for each whisk.  The two packages above are both Ferrule and Stop sets from different manufacturers.  You will need one pack (two ends) per light.   What size of washers?


Depends on the size of your whisk.  You want the washer to be narrow enough to slide in through the slot in the whisk.  But the whisk narrows at the top, so the washer needs to be large enough that it wedges in the whisk and can't fit through the top diameter.  The picture above probably illustrates this better than I can explain it.


We are starting with three regular mini pendant light fixtures you can get them from the big box store.

Step 1-  turn off the power to the lights, unless you really like to live dangerously and don't care for your eyebrows


Disconnect your light fixture.


And mark the wires for easy reassembly later.


Measure how long low you want your light to hang.


Loop one end the wire through the washer and secure by running it through a Ferrule and squeezing the metal together.  Run the wire through the whisk and wedge the washer in the top as pictured above.


Run the other end of the wire through the light fixture's base.


You will need to hold up your light fixture and trim the wire to slightly shorter than the lights electrical cord so that it supports the weight of the light.  This picture demonstrates the difference in length.


Secure the other end of the wire in the base with the second Ferrule stop.


Rewire your light fixture, insert light bulb, and that's it.


I found several whisks with different sizes and shapes.


And when you're all done, turn the power back on.

Friday, April 4, 2014

Yellow front door and the mechanical doorbell.

Ring my Bell

April 2014


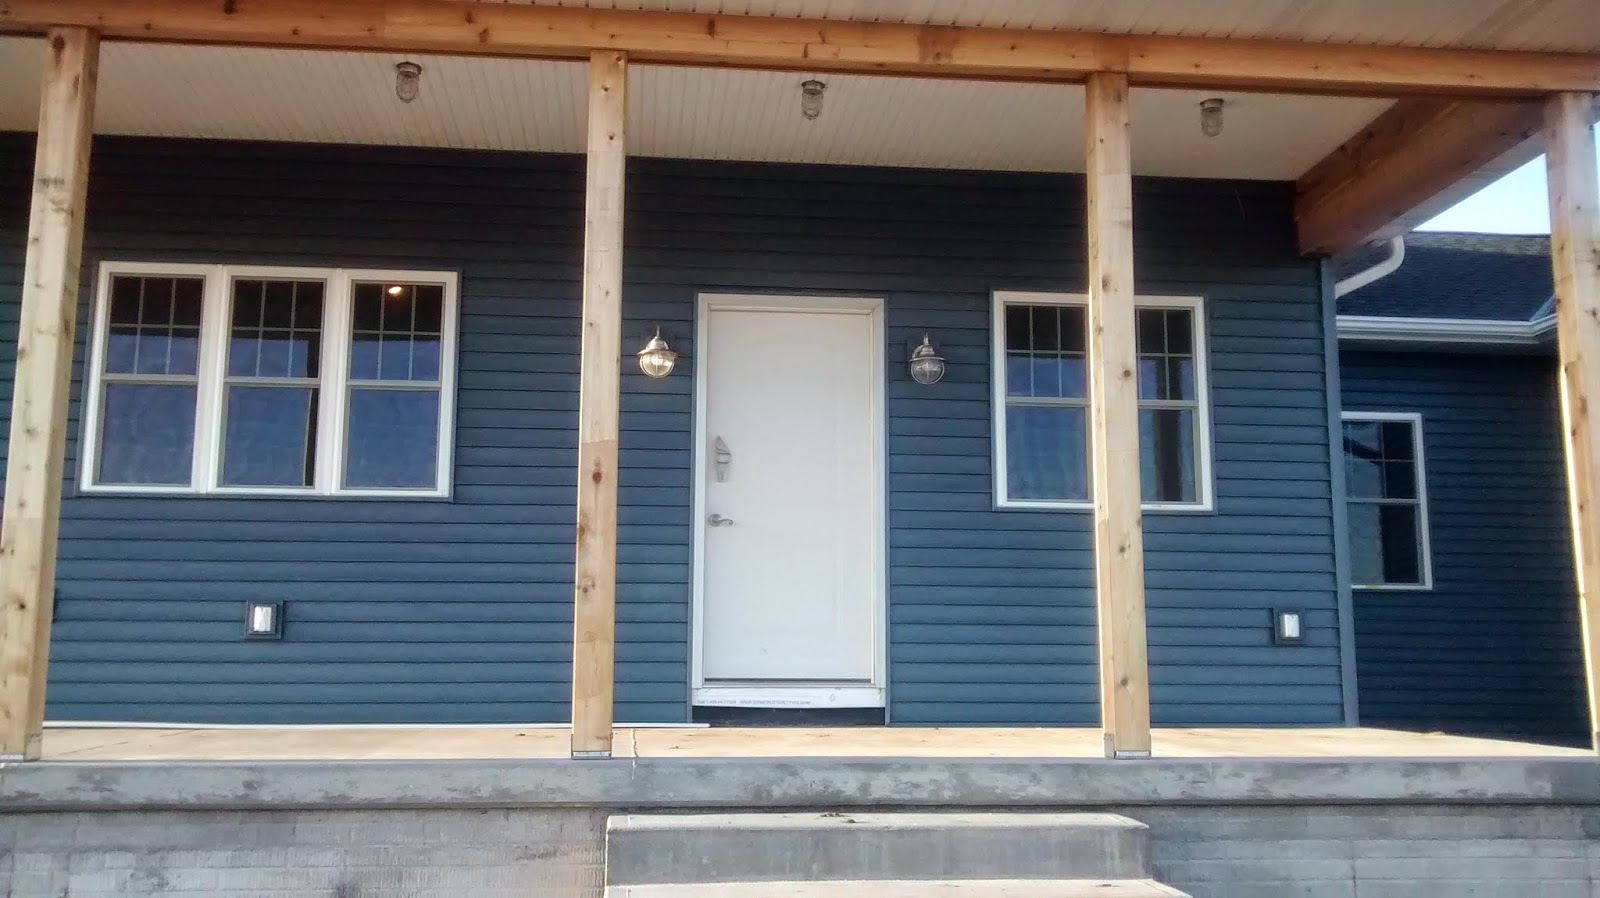
This is our front door.  Pretty blaaaa, much like this weather has been.  The door is from Masonite, time for a little sunshine.


We broke out the Graco Magnum x5.  It's a refurbished unit I picked up online from www.cjspray.com  I was a little reluctant to buy a refurbished unit but this one works great and the customer service was awesome.  The first time we used it we had a problem with the hose that came with it and they took care of it right away.  This unit is so fabulous, we  were able to paint this door with a brush mark free finish in under 5 minutes.  We also painted all the interior door with this thing, but that's another post.


The before


And the fabulous.


It's a beautiful yellow from Sherwin Williams called White Raisin.  It brightens up the porch nicely.


And the best part, the mechanical doorbell.  This is the turnkey on the outside.


And the bell on the inside.  It's a vintage remake from the early 1800's.  How how does it sound?


Tuesday, April 1, 2014

Commercial vinyl aged wood flooring.

Goodbye plywood floors.  Hello, beautiful.

 January 2014

We have been looking at these plywood subfloors for too long.  It's time for flooring.

We had the contractor, L & M Covenant Construction, put the floors in the bathrooms, the laundry/mudroom, and the second bedroom upstairs.  Because, well, we're a little busy with other projects.  And lesson one folks, if you are doing DIY, know your limits.  Pick the projects that you have the time to complete, the tools do it right, and the ability.  Frankly, we saved a lot more money spending our time doing countertops and the kitchen and let the pros do their job on the floors.  And we really wanted to move in sometime soon.


 The first thing they did is lay down another layer of 5/8" subfloor.  This brought the floors up to about the same level as the hardward floors will be so there will be a smoother transition between floors and it really provided a much smoother surface than the rough plywood subfloor that is underneath.


The purple bathroom with new subflooring.


The laundry room completed.

                   Before                                                                                   After

The master bathroom


The flooring is a luxury vinyl from Spacia.  It is a commercial flooring in Weathered Oak.  It looks like aged wood, but is waterproof and no grout lines to clean.  It basically gets glued down in individual planks.  We had tile and faux tile cement in our last house and this is so much warmer on your feet.

77, 78, 79, 80, 81, 82...now that's a light fixture

 Let there be light.  And it was good.

January 2014


Time to turn something boring, into fabulous.


 This is boring, that will work.  The main light fixture in the master bedroom.  We added a medallion to the base when the electrician installed the wiring to give this light more substance.  This is a light fixture from Ikea, yes, I might be a tad Ikea crazy.


If you can get through the cryptic instructions from Ikea, yet get something like this. 


 And about 82 of these, it's from Ikea, some assembly required.  Plus you can play he loves me, he loves me not while assembling.


Tada...fabulous.  I love waking up and seeing this every morning.


And the shadows it cast at night are awesome.


I am forever renaming this light the "Dandelion Puffball Light"


What is the light really called.  It's a Maskros which just happens to be Swedish for giant dandelion puffball light. 


The bedroom also has this in the entryway, it's a miniature chandelier.  Because every girl should have a miniature chandelier and pony.


Why, yes, it is also from Ikea, the light, not the pony.  What's it called?


It's the Kristaller.