Wednesday, January 22, 2014

Removing the shower pan.

 What a difference an inch makes.
January 9th, 2014


This is the floor of our shower.  It's a shower pan from Onyx. 


It's awesome, except that it is an inch too narrow for the shower door.  Either the guy at the kitchen and bath place ordered it wrong or it was made incorrectly, the jury is still out on that one.  What we do know is that they want it returned to the manufacturer to be fixed.  No problem.


Just remove a little drywall. 


A little more...


Keep going... 


There.  Now, to get it to the store.  It only weighs probably close to 200 pounds.  I'll just throw that in the truck.

Hmmm... the shower is looking great.

Dishwasher, electricity, and floors...oh, my

Coming out of the box...
January 5th-8th, 2014


We finally get to take it out of it's box.  The dishwasher, oh how I have missed you.  This was another one of my Black Friday deals.


The electricians are back and we get outlets and light switches.  Oh, you don't realize how much you miss something like electricity until you don't have it.  I have gotten so used to using flashlights at the house that it takes a while to train my brain to use the light switches when I go in a room.


And we get our real heater.  It's much quieter and warmer than the temp.

 And a another box arrives.

 It's a "sample" box of wood flooring.  I ordered one box so that I really get a good look at it and evaluate the quality of a box before ordering the giant wood floor shipment.

And of course I have to unpack the whole box just so I can look at it.  This is really going to warm up the rooms.  We are putting in the wood floors in all the upstairs rooms except the bathrooms, laundry, and the 2nd bedroom.

 I am loving the colors and patterns and the floor has a matte finish so it is not nearly as slippery as the floors in our last house.

Tuesday, January 21, 2014

Installing the wall oven.

Yes, make it a large.

January 5th


I don't know about you, but when I order cabinets and they ask if I want to supersize, I always say, yes.


 I believe this is the largest kitchen cabinet that Ikea sells.  How large is it you ask?  88" x 30"  It's going to house 3 drawers, a wall oven, a microwave, and than some storage above.


This is Seth, my brother-in-law.  He and my sister stopped by to help us lift the wall oven into the cabinet.  Thanks for the help guys, we really appreciate it.


Unpacking the unit.

Remove the oven door and packing materials.


So here we all are, thinking...that shelf is supposed to hold an oven.  That can't be right.  We should really test it out first, don't want to break the new oven.   What could we use that be okay if it fell?


Oh here, let's get Kiffany to test it.  Nothing broke, so we must have a success. 


And tada...team work, wins again.  The gap below the oven will be filled with a trim strip that came with the oven and a small filler strip.  This is our first wall oven.  I am really liking the final height.  I anticipated a complicated install but it really just sits on the shelf and then a few screws to secure it to the cabinet frame in the front.  There is a hole in the back of the shelf that electric cord goes in and the electrician hooked it up behind the drawers.

Tuesday, January 14, 2014

Installing the high cabinets in the kitchen.

Standing in this corner at a staggering 92"...
January 4th


This is the back corner of our kitchen.  Looks sad and empty.


This is an Ikea 88"x 24" high cabinet.  Looks perfect for the job.  We will also be installing a slightly shorter version in the master bath instead of a linen closet, 80".


Here both high cabinets are installed, they are 15" and 24" cabinets.  They will be great for storing large roasters, slow cookers, cheese making supplies, and possibly some food.  We also had the electrician put in an outlet above so we can decorate later, good thing I got the final height right for him, remember we have cabinet, toekick and hardwood floors to account in your measurements.

Monday, January 13, 2014

Kitchen cabinet internal fittings.

What's a gal to do?

January 1-2nd, 2014


So Brian decided to kick the year off by getting the flu. Evidently he wanted to get it out of the way early this year.  So what's a gal to do on a construction site by herself, play with power tools.  I work on putting in the drawer partitions, drawers, and internal fittings in the cabinets.  Here I am putting together a drawer, yes they come in flat boxes and you have to assembly them.


And since I don't have the flu, order pizza.  No, not really this is the parts to the giant lazy susans that go in the corner cabs.


Putting together Ikea cabinets is a lot like a giant puzzle, which I happen to enjoy.  I love putting them together.  But you do need to be prepared there are many, many pieces with Swedish names.  This is the level of detail you are installing, these are the rail holders for the lazy susans.


Here is a finished lazy susan.


And we have internal fittings.  And drawers and drawers and drawers.  I will putting together drawers till spring.  In this picture you can see the rails the drawers will go on that I installed.  I removed the actual drawers so they wouldn't get damaged during the rest of the construction.  Building them was fun, but once is enough.

And then in my spare time, I finish the last coat of paint in the living room and dining area.

Thursday, January 9, 2014

Master bathroom cabinets and sink spacing.

A little to the left, now right, perfect.
December 31, 2013


So the last thing we do in the house for 2013 is dry run the master bath cabinets.  These are the same type of cabinets we put in the kitchen only they will get different door styles and cover panels.  This is a 15" and 24" base cabs.  Now we do use the Ikea legs on these cabs for several reasons:

1.  we are using Ikea's toekicks and they are made to attach to this style of legs
2.  these cabs are against a wall and don't need the extra support
3.  this is a bathroom and the Ikea legs are plastic which is water resistance, wood is not
4.  we had a whole bunch of legs left from our last kitchen install from our last house (anyone need Ikea cabinet legs, contact me)

We are dry running here which means we are not attaching these cabs to the wall yet.  We are figuring out our spacing with the pedestal sinks.  And determining how far we need to bring the sinks forward for comfort.  We will be building out a ledge behind each sink.  This will bring another design feature to the room and provide some bonus storage.

Wednesday, January 8, 2014

Installing the kitchen base cabinets

Cabinet installation day is finally here!

 December 30th, 2013


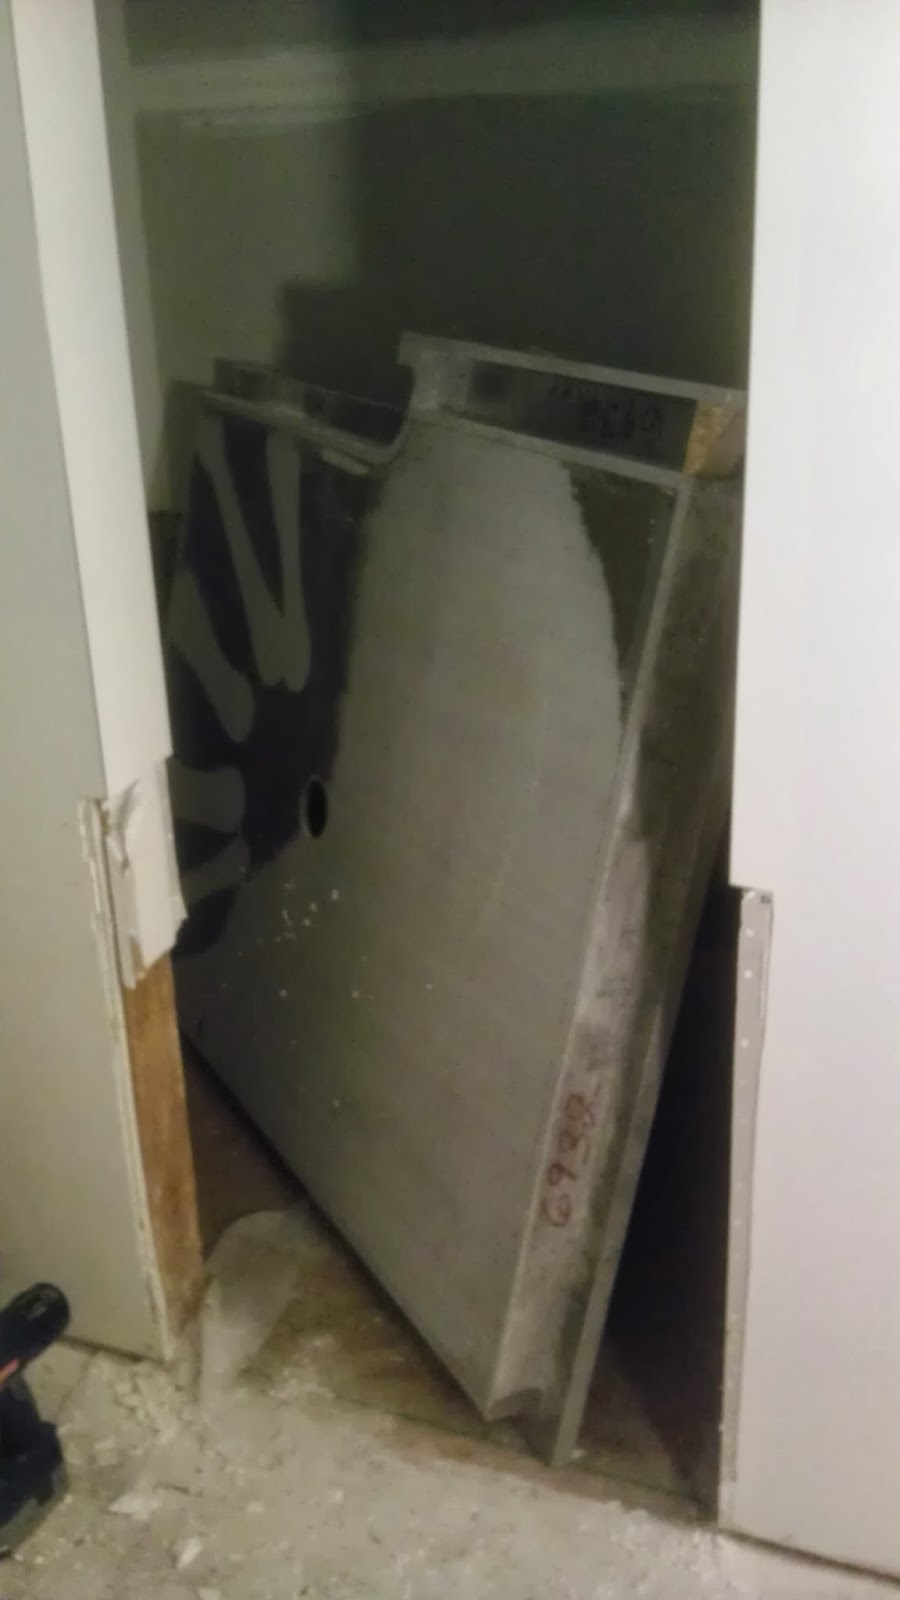
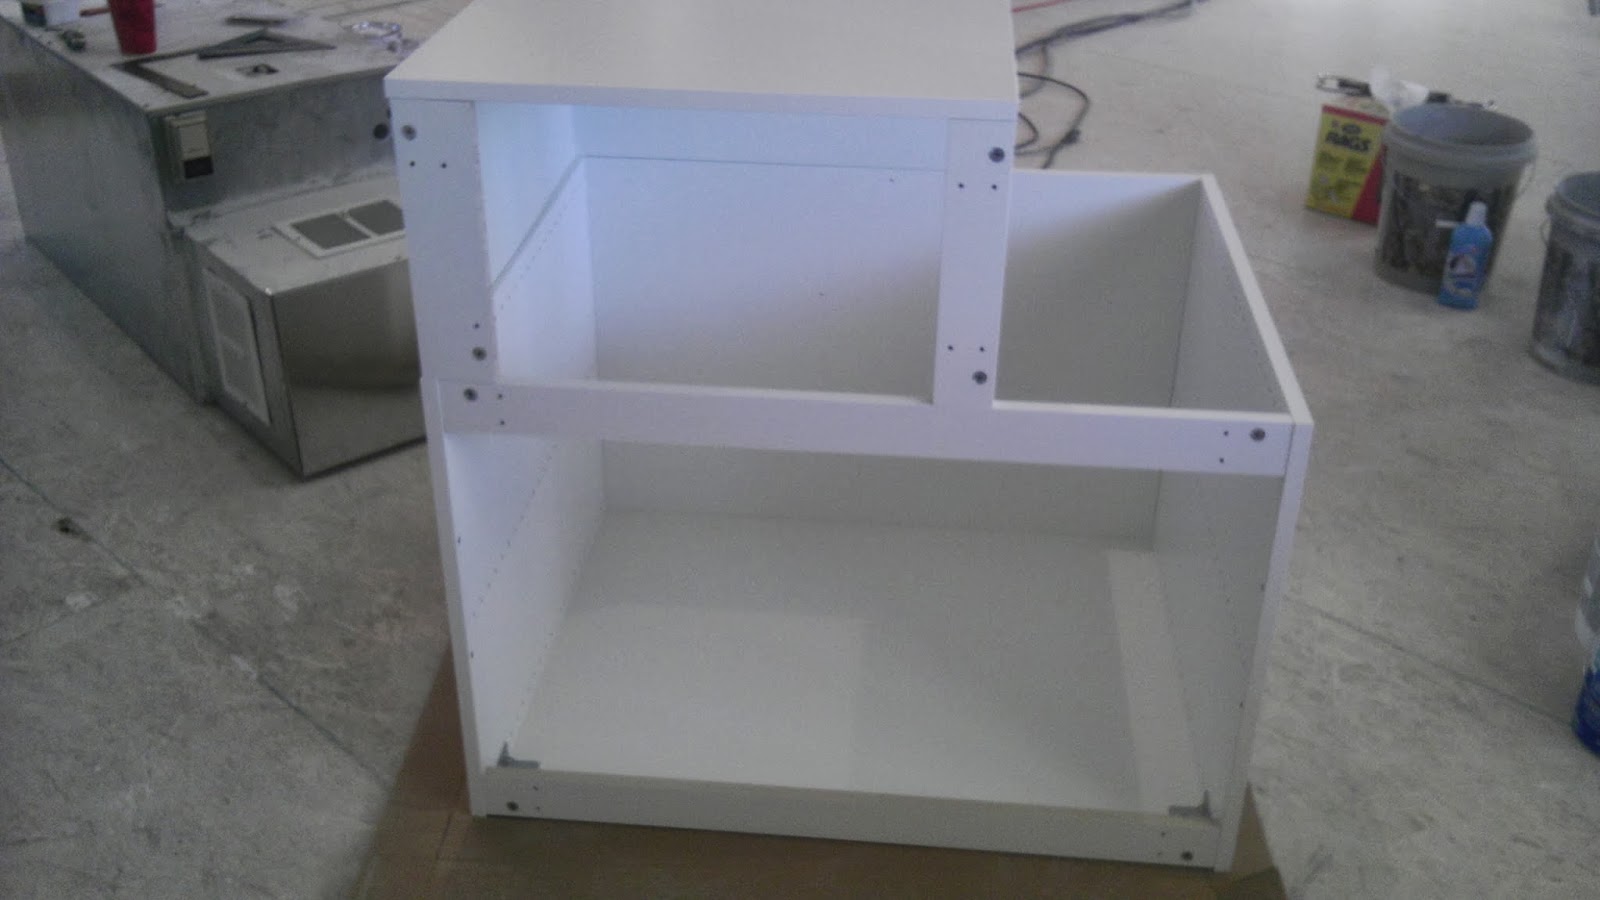
Before we could install the first cabinet we had to build the first cabinet.  You want to start with the corner cabinets and we hadn't assembled the corner cabinets yet.  We assembled the other cabinets earlier in our basement.  The corner cabinets are large 37" x 37" and awkward shaped, like a Tetras piece, to carry up the stairs so we put them together upstairs close to the kitchen.  We didn't do this earlier as they would be in the way and likely to get broken with drywallers and such running around.  This is the cabinet on it's side and we are looking into the bottom. 


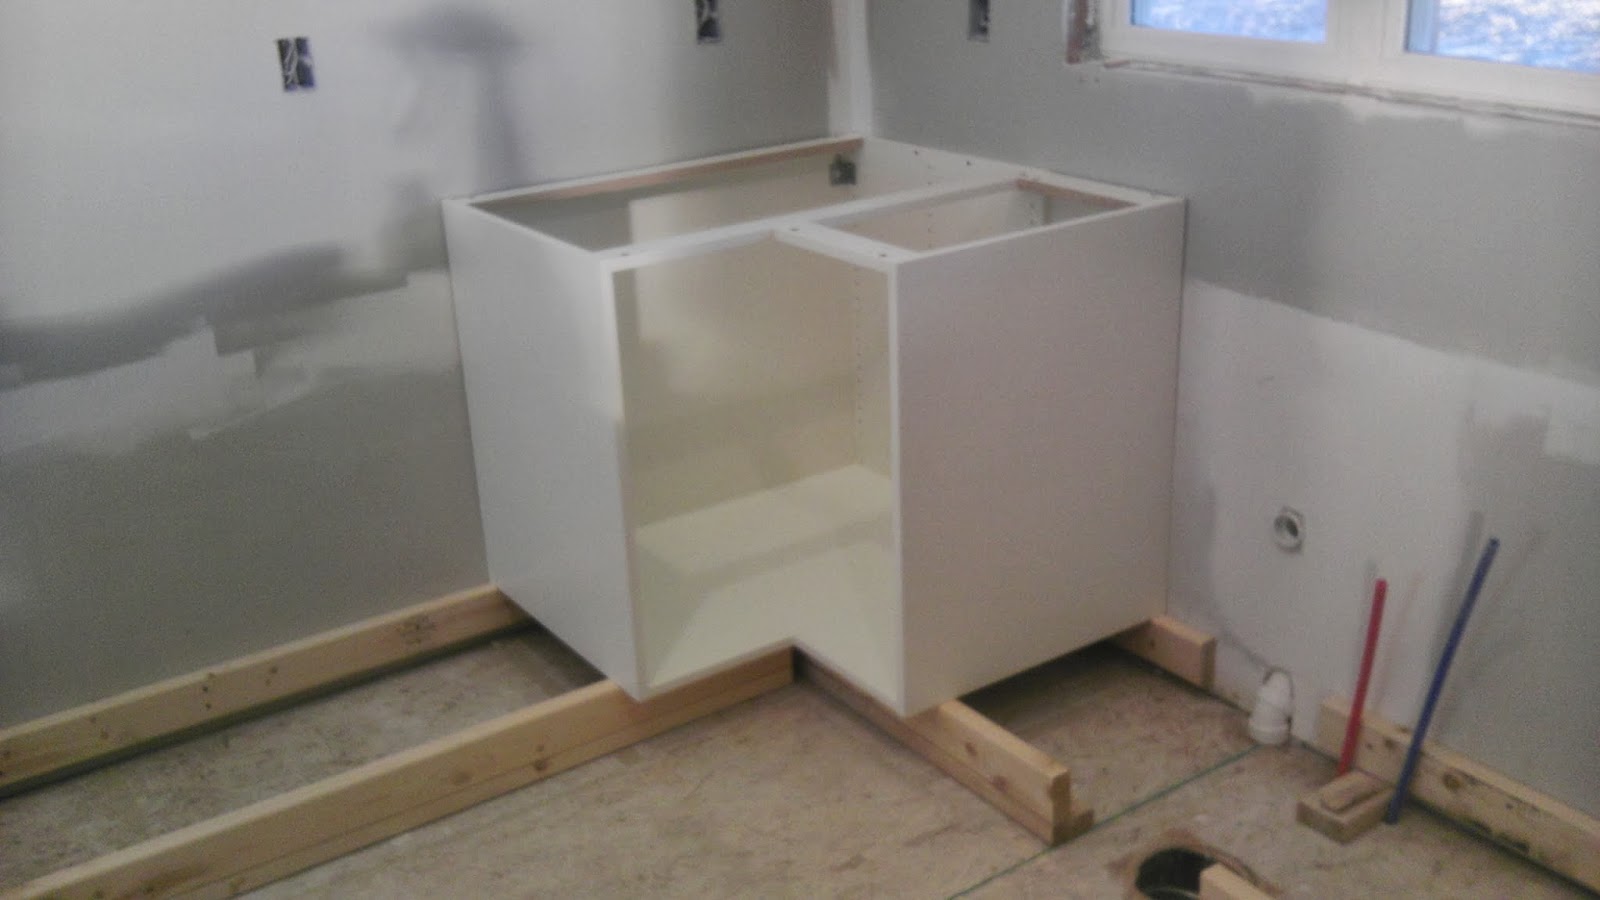
Then it's a matter of lifting the cabinet, setting it on the frame, confirming its level and screwing it to the wall with giant toggle screws.


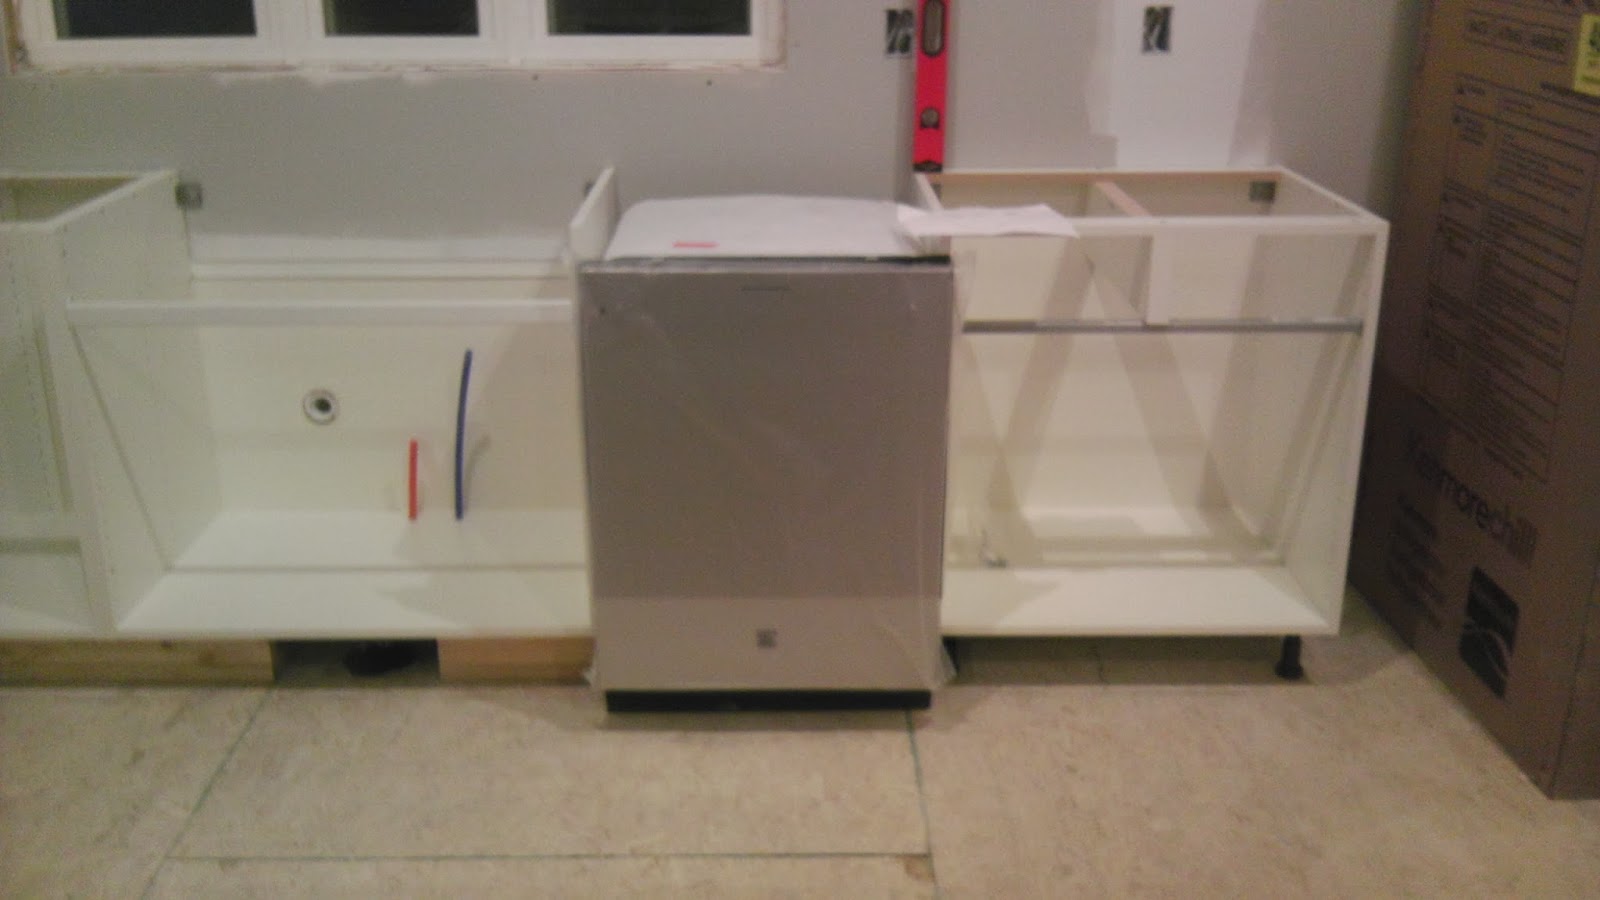
 Here it is a close up of it sitting on the frame.  Cabinet one, done, now only about 20 left to go.  No, really, I bought 20 some cabinets for the house.


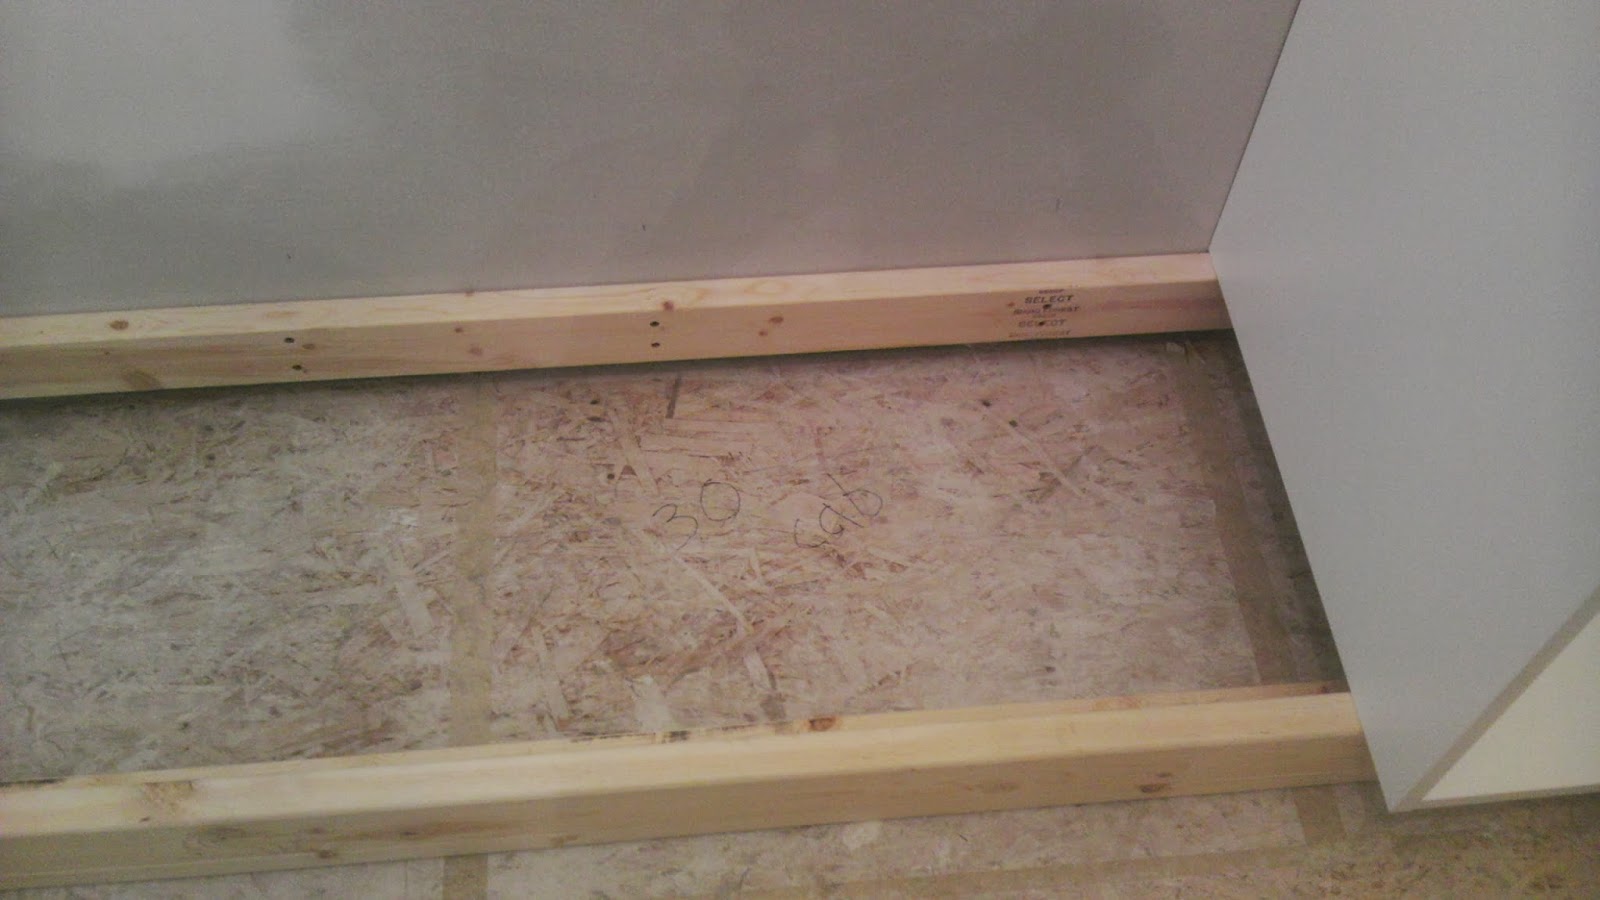
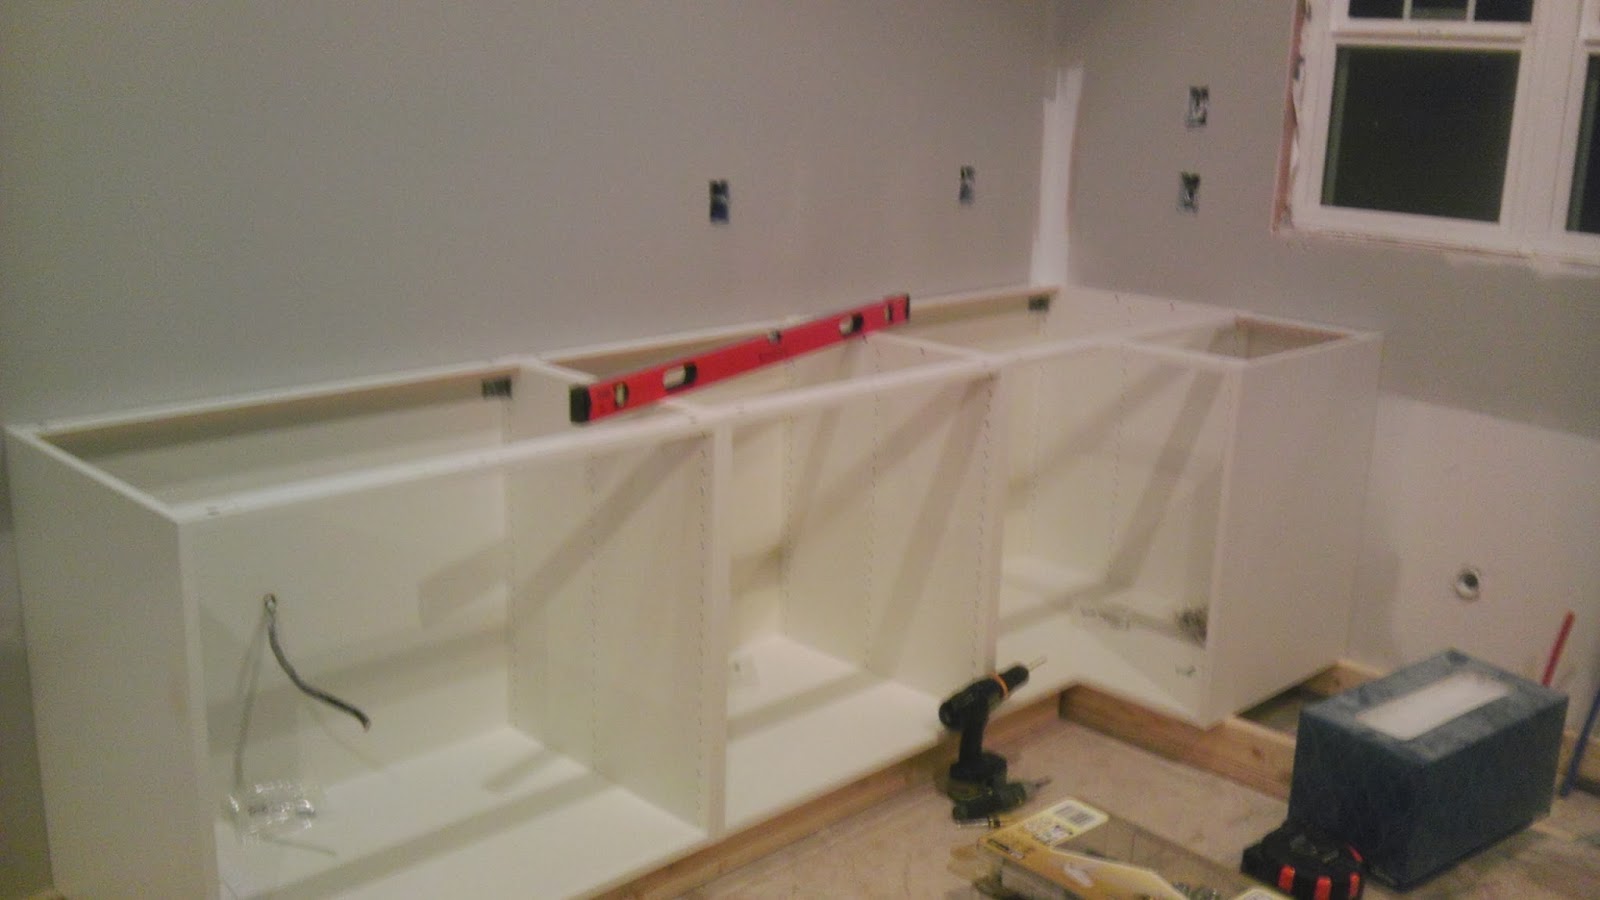
Now it's just a matter of rinse and repeat.  Next cabinet goes in place, screws to the wall and get toggle screwed to the cabinet next to it.  And check that you are level.


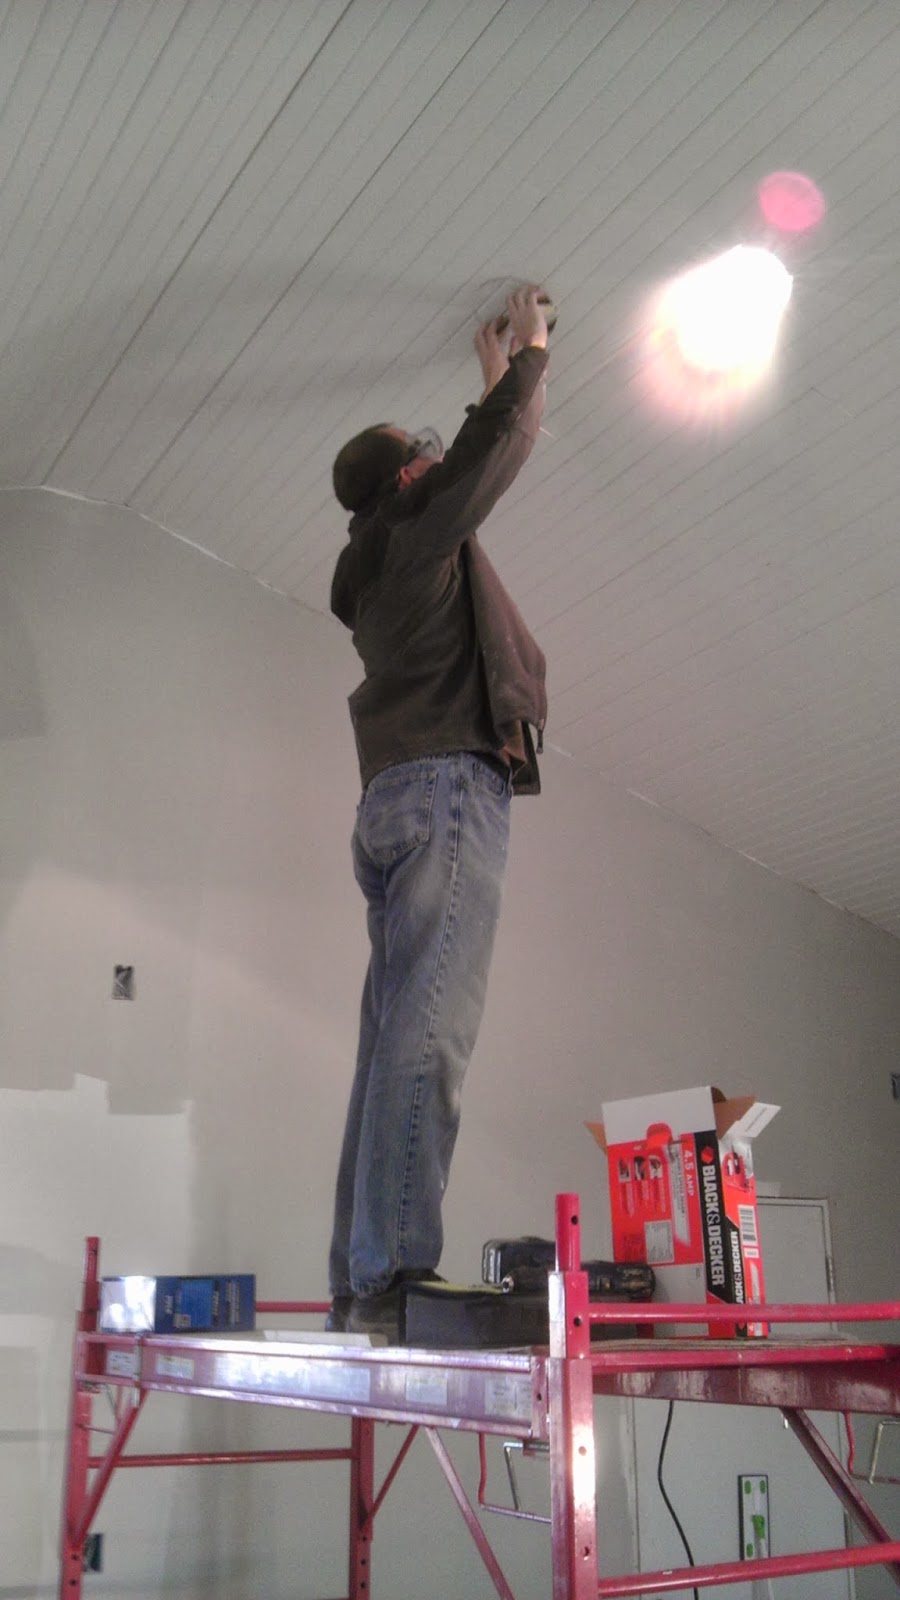
We drilled holes in the backerboard for all the electrical wiring, plumbing, etc.  This is that cooktop cable again.
December 31, 2013

Last day of the year to get your cabinets installed.


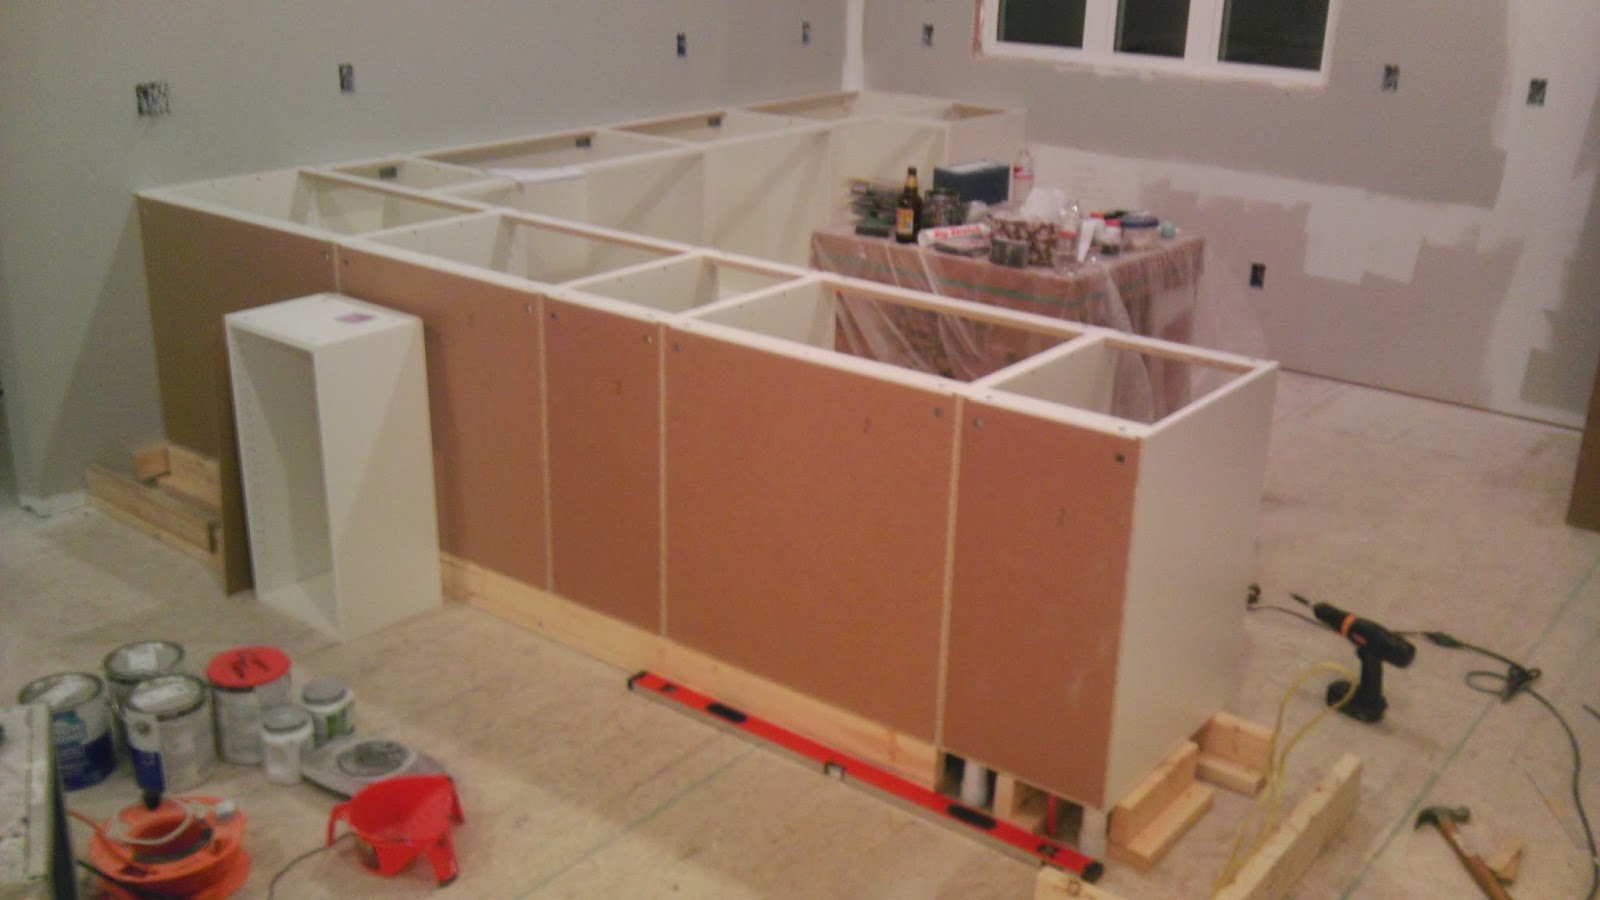
There you go, that wasn't so hard.  We still have more to go, but it's coming along nicely.  Now if you are Ikea knowledgeable or even kitchen cabinet knowledgeable you might be saying, "they didn't install the wall cabinets, everyone knows those go up first".  Well most of our wall cabs are going to rest on the countertop and stack and the rest we want to ensure are at the same height as the stacked cabinets.  So we are putting in bases first, then countertop, then wall cabs.  And who wants to do it the easy way anyway.


Building a base frame for Ikea cabinets.

 I swear, I was framed.

December 29th, 2013


Putting in framing for the kitchen cabinets.  We are installing Ikea kitchen cabinets, but the instructions will tell you if your cabinets are not going against a wall, which of course we have a peninsula, that you need to use some form of framing to secure your cabinets instead of just using the Ikea legs.  Well, Ikea doesn't really tell you how to do this.  We find that two 2x4's attached to each other and then to subfloors gives you the perfect height.  Our countertops should be around 36", I say, should be, because we are making those too, later on that.  This framing will give you a 4 1/4" toekick after putting in 3/4" hardwood floors.  We are also making our own toekicks instead of using Ikeas, so the framing we also allow us to just nail the toekick right to this frame.  It's much harder to attach it to the Ikea legs as they use a grove cut in their toekicks for installation.


Since we had to make the frame for the peninsula, we just continued it for all the cabinets.  The wire sticking out of the wall is for the cooktop.


This is the plumbing for the sink and the square hole is a an air vent.  We left a 12 1/4" gap in the framing for the air vent in the toekick.


And then we also screwed another 2x4 to the wall so that it's at the same height as the frame.  The cabinets will sit on top of that board against the wall.  Make sure you screw that into the studs.


Last look at the corner before the cabinets go in.

Monday, January 6, 2014

Bathroom paint and speaker installation.

Whatca wearing?  Whatca painting?  What color is that?

December 28th, 2013

Painting the main upstairs bathroom


Bridget what are you doing in that spiffy painting outfit?  Are those special painting socks?  I sure hope so.  Bridget puts the first coat of what turns out to be many coats of paint in the main bathroom. 


This is the paint color for the top half of the main bath.  The bottom half of the room will be white beadboard.  The top half however, is Behr Vintage Grape color matched to Sherwin William's HGTV Satin Paint.


It's a dark and rich color.  Can't wait tell we get actual lighting and then you will be able to see what it really looks like.  I love the color, hate painting with it.  Every roller mark, every blemish in the drywall, every spec of lint and dust (which of course we don't have during construction) shows in this paint.  Which is why in January, I'm still painting this room.  Four coats later and over a gallon of paint for half a bathroom.  But the drama in the room it creates and stark contrast with the white will pay off.  This picture is after the second coat.  After the first coat I touched all the new blemishes we were seeing then painted a second coat.  The second coated showed the plaster marks from the touch ups.  So I did a skim coat with plaster, sanded again and then reprimed those areas.  Mostly all the corners as you see in this picture.


Third coat...looking better.  I have some final touches to do and one corner that needs a fourth coat.


Here you can see the stark contrast with the white tub.  I will get better pictures once we have lights installed in the room.


Brian is cutting holes in the new ceiling and installing a speaker in the kitchen.  This is some of the wiring we ran earlier that ends in the pantry closet where I can hookup my iPod to or switch to have the living room TV sound.